Design Process
I’m currently nearing the end of my first official cable blanket and I have a feeling there will be many more of these in my future. I adore the geometry and complexity of the pattern and watching my concept come to life in yarn.
I’ve always enjoyed making cables. Both the variety of the stitch pattern and the magic illusion of the twisting vines of yarn keep my on my toes. I have previously designed a cable scarf that was very simple and another scarf with some cable like features, but the idea of a large scale blanket seemed years away. How do designers decide which stitch crosses where? How long should the stitch be? How do you keep everything consistent?
I figured these things out in (name of blanket here) and it was surprisingly easy.
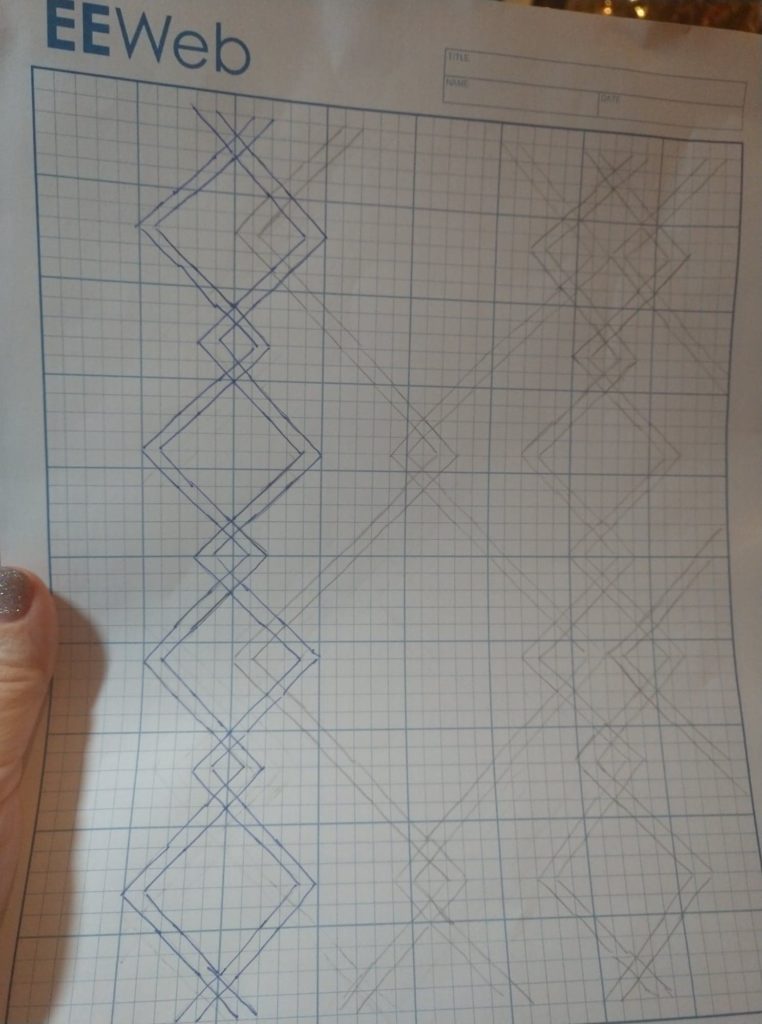
I started with some graph paper and sketched out the pattern I wanted to see. I’m not skilled at drawing, so it had to be simple – connect the intersections was as much as I can muster.

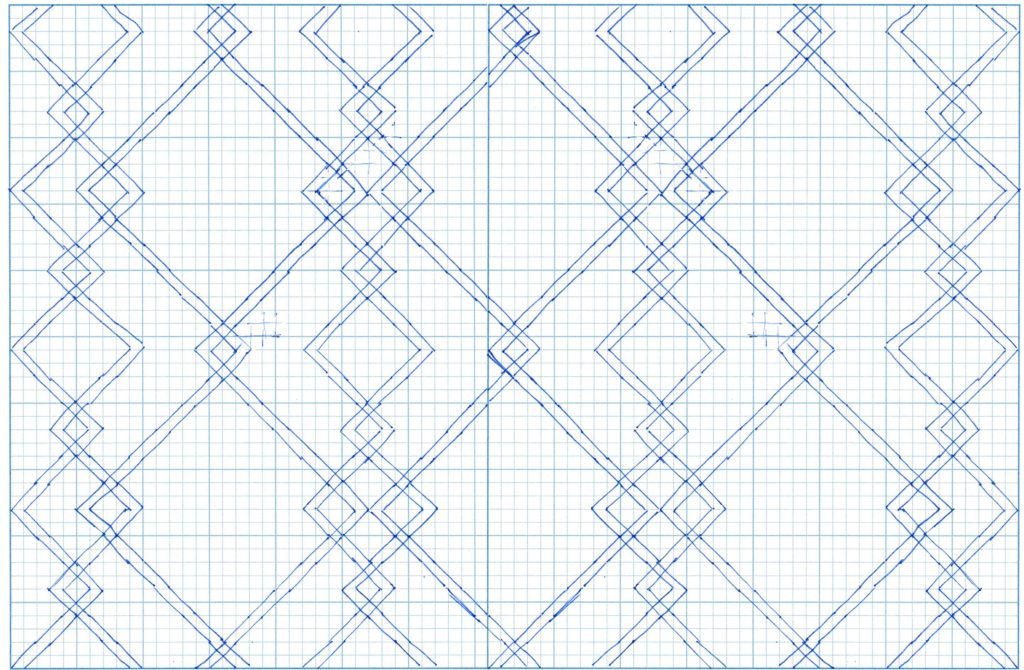
Once I was satisfied with the way things fit together, I scanned it and did some magic with photoshop and pieced together a full repeat with both beginning and ending sides and a couple of repeats in the middle.

Great. Now what??? I have a bunch of lines on paper. How does that become a pattern? Which ones go on top and which go on the bottom? I still had more work to do.
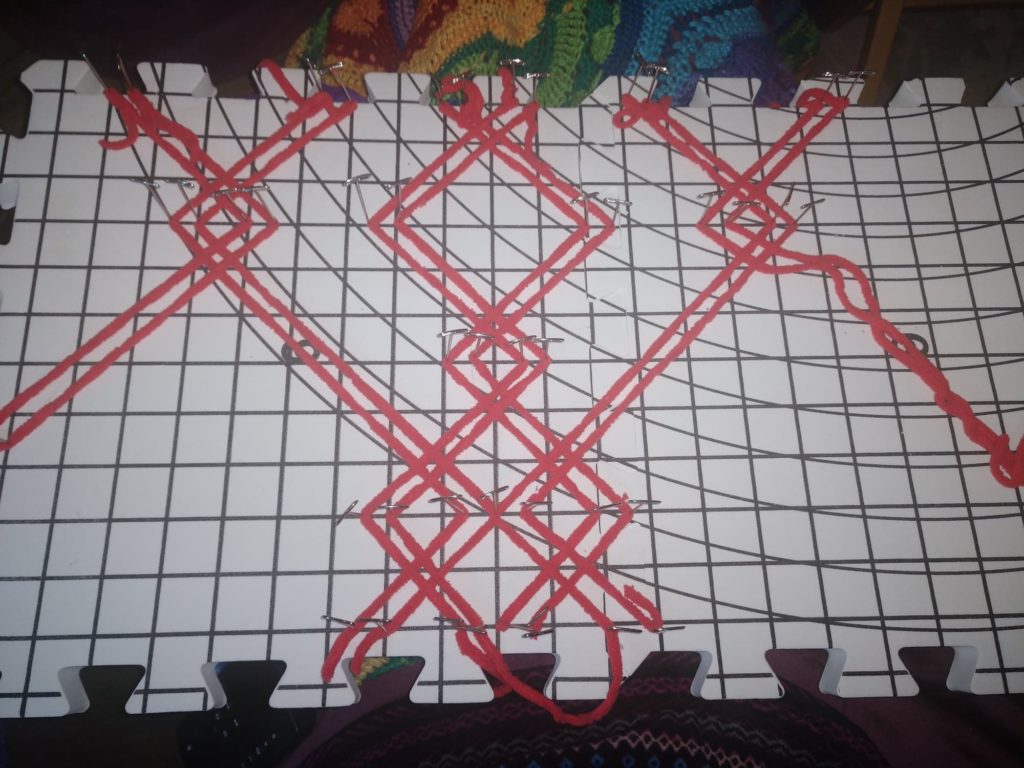
This is where I got creative.

Okay, NOW I had something I can work with. I can play with the red yarn and place it over and under to make sure that everything continues in the right fashion. If one pair goes under in one section, it must go over in the next. So, I just pinned and repinned until it all worked out.
Now, I know there’s more to the math of this. I have to delve deeper into cables to understand this better, but I feel like I have a good handle on where to go from here.
I hope you enjoy the results! And, if you made it through all of this, kudos to you! Thanks for reading!

~Caroline
